
Manage Resource Groups
A resource group collects resources of different types. One or more user groups can be granted access to those resources in one place, instead of adding the resources to each user group separately.
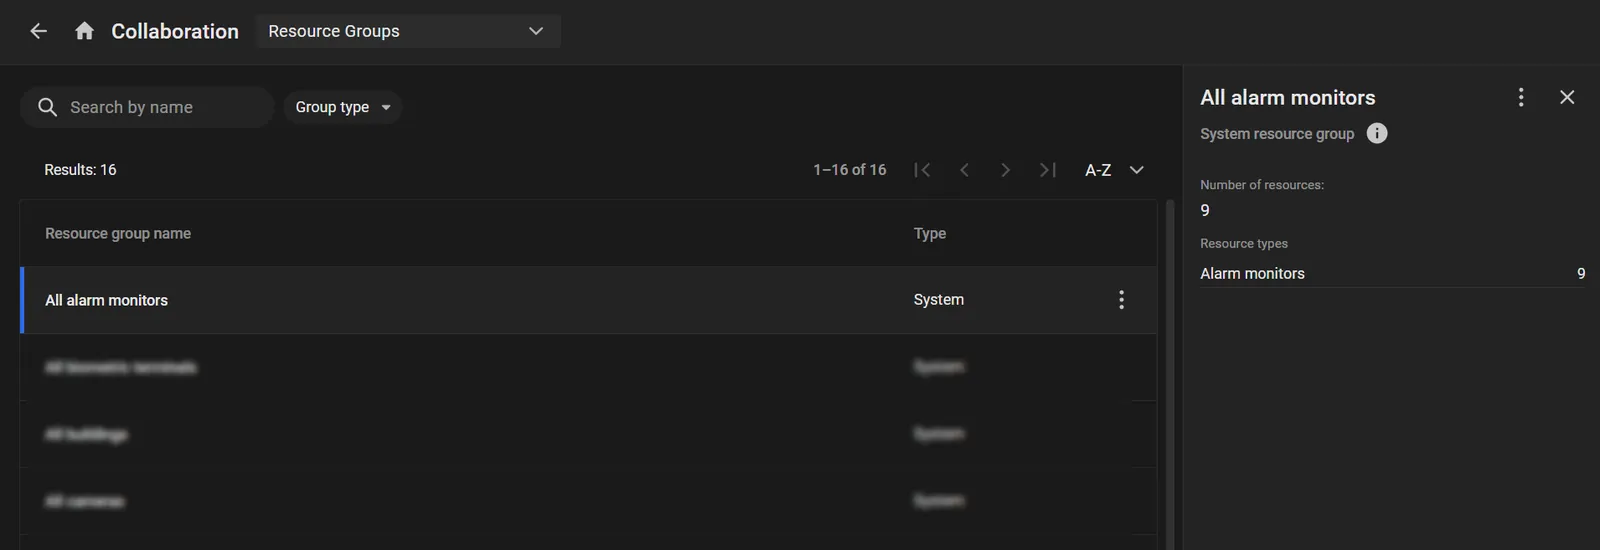
To open the list of resource groups, select User menu > Collaboration > Resource Groups. For each group, the list shows the Resource group name and Type:
- User: a group created by an administrator.
- Automatic: a group the platform creates automatically. It includes resources that share one address: street, building, and other address parts set in the resource settings.
- System: a group the platform creates automatically. It holds all resources of one kind, for example all cameras or all layouts. The contents of a system group cannot be edited.
Selecting a group in the list opens a side panel on the right with the group's details.
Create a Resource Group
To create a resource group:
- On the Resource Groups page, click +.
-
In the Create resource group form, fill in the fields:
- Resource group name: enter the group name.
- User Groups: select one or more user groups that receive access to the new resource group.
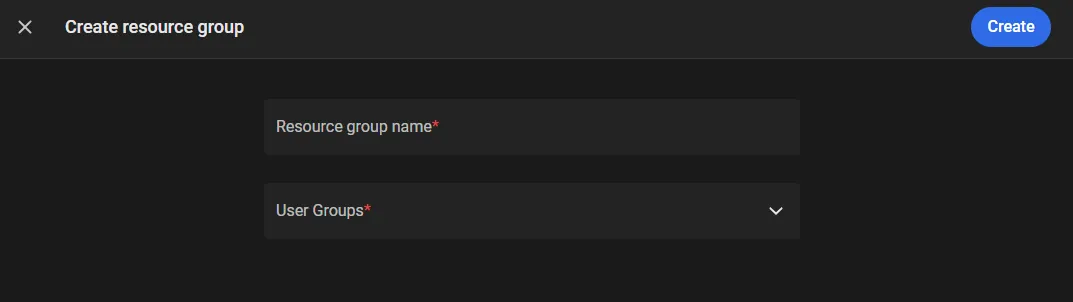
- Click Create. The new group appears in the list on the Resource Groups page.
- To add resources to the group or change which resources belong to it, select Edit content in the group options menu in the list or on the side panel. The group page opens.
-
Select a resource type and click +.
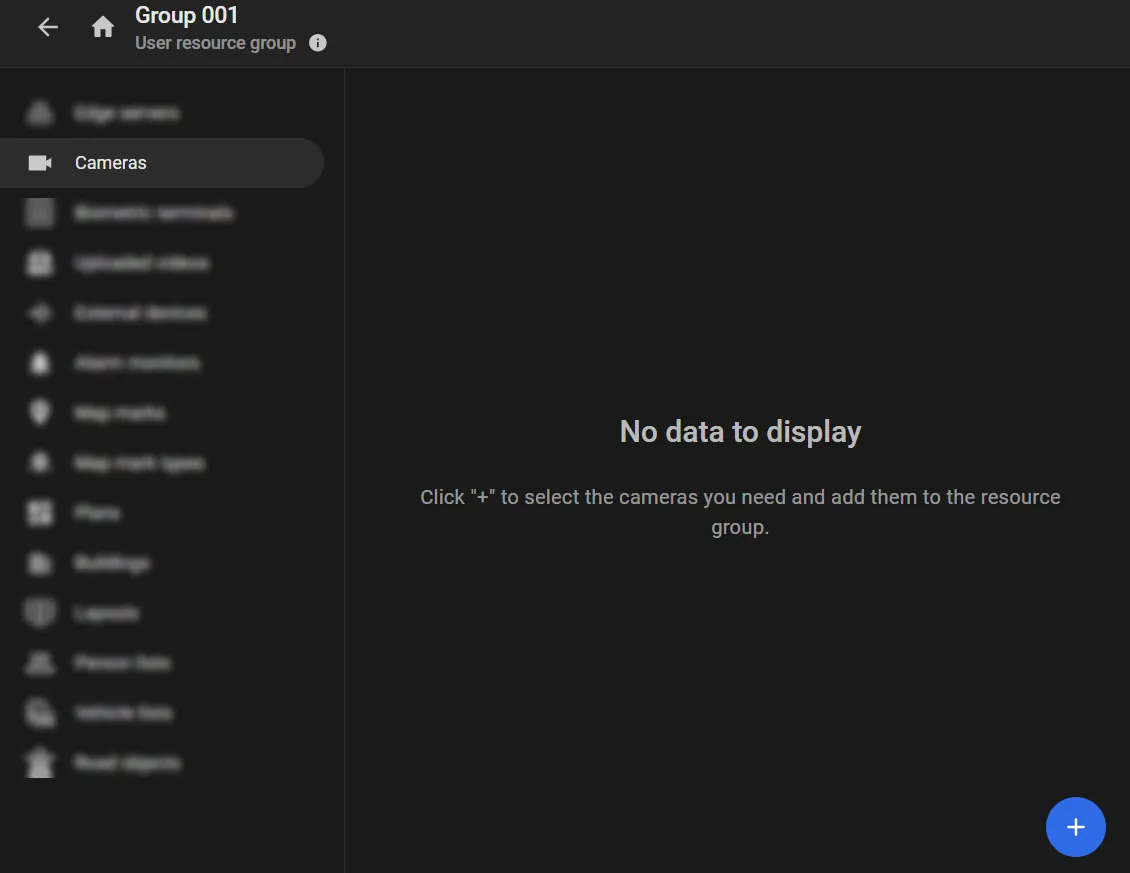
Available resource types:
- Edge servers: servers that process video.
- Cameras: cameras for live video and archive playback.
- Biometric terminals: biometric terminals for face identification.
- Uploaded videos: videos uploaded to the platform for video analytics.
- External devices: Sigur and Netping devices. After clicking +, select the type Sigur or Netping.
- Alarm monitors: monitors for viewing and processing alarms.
- Map marks: custom marks on the map.
- Map mark types: types of custom map marks.
- Plans: building floor plans.
- Buildings: buildings where cameras are installed.
- Layouts: live video from several cameras on one screen.
- Person lists: person lists.
- Vehicle lists: vehicle license-plate lists.
- Road objects: objects used to capture traffic violations.
- The Add {resource} to resource group page opens. Select resources in the list. Use the search field to find a resource.
- Click Add. The resources appear in the list on the group page.
Access to an existing resource group can also be granted on the User Groups page, on the Resource Groups tab.
Resource Group Options
The group options menu in the list on the Resource Groups page or on the side panel includes the following actions:
- Edit content: opens the group page so the resources in the group can be changed. Available only for groups of the User type.
- View content: opens the group page without changing the resources in the group. This item appears instead of Edit content for groups of the Automatic and System types. The group page tabs show cameras, layouts, plans, and other objects that belong to that group.
- Rename: in the Rename resource group window, enter a new name in Resource group name and click Apply. Available for groups of the User and System types. Not available for groups of the Automatic type.
- Delete: deletes the group. Available only for groups of the User type. A group that still contains resources cannot be deleted. Remove the resources from the group first.