
Venues
Create, Edit, and Delete a Venue
To create a new building or plan:
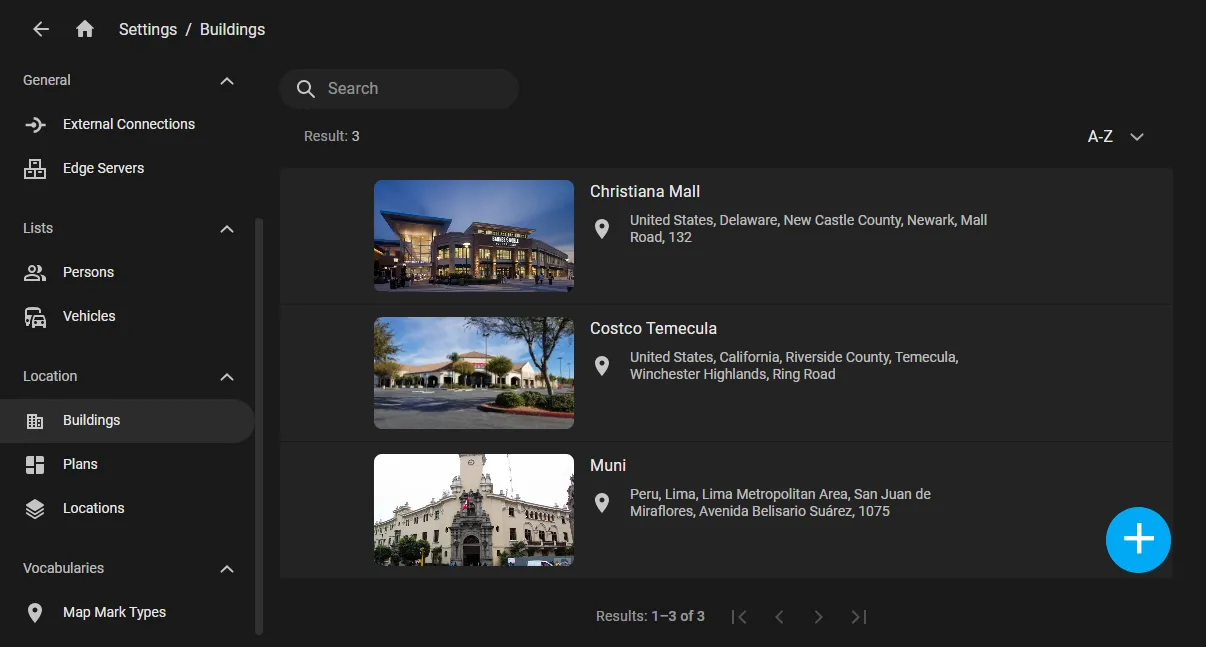
- Run the User Menu > Settings > Buildings (or Plans) to see all the buildings or plans already existing on the Platform.
- Click the "+" in the lower-right corner to complete the Add new Building (or Plan) form that opens with the following:
- Locate the venue on the map with a click.
- Click Create in the top-right corner of the screen to complete.
User-defined Name to facilitate by-name search on the map.
Number of floors
User groups that will have the building available.
Category — select on the list.
Facility type — select on the list for each category.
Description — user's verbal description and relevant comments.
The venue will then automatically get the address according to the map's data, which may be used as a search string.
To edit all metadata of an existing venue, except for the user groups that have access to it, checkmark it and run Edit in the three-dot menu.
How to manage access to a venue?
To delete a venue, checkmark it and run Delete in the three-dot menu.
Manage Access to a Venue
Access to a venue can only be managed on a "by user groups" basis.
-
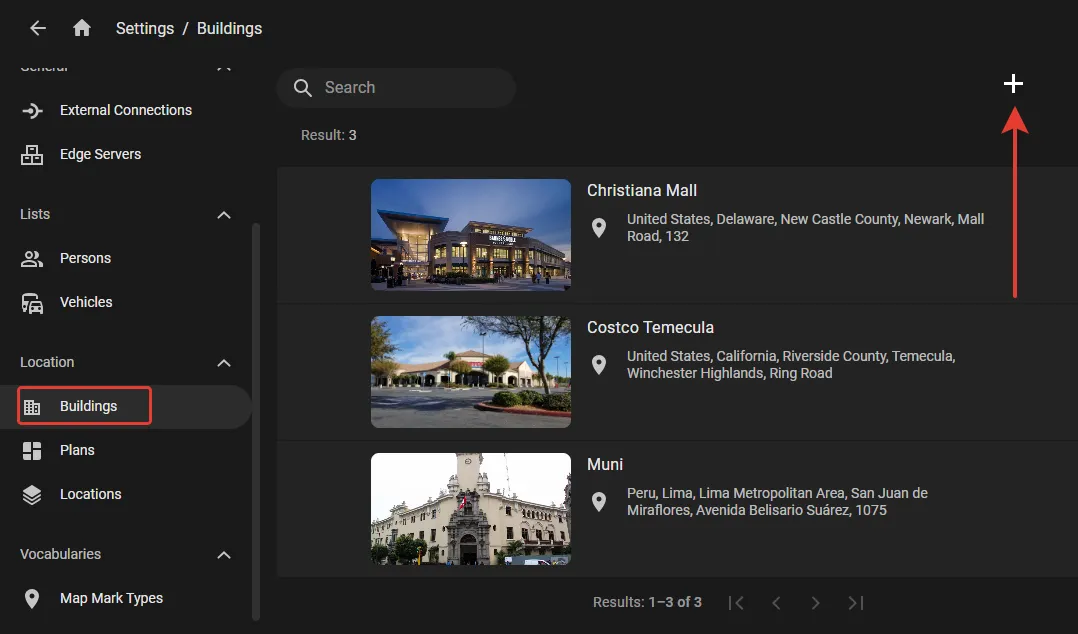
In the Buildings (or Plans) section on the user group's screen, click the "+" as shown to open the consolidated list of all buildings
(or plans) not assigned to that group yet.
- Checkmark the buildings (or plans) to assign and click Add.
To unassign a building (or plan) from a user group, checkmark it in the Buildings (or Plans) section on the user group's screen and click the "Bin" button. However, if a venue has become accessible because the user group was granted a resource group that includes that venue, the checkmark will be blocked. Venues like these cannot be unassigned from a user group this way. In this case, unassign the resource group.